Free Up Disk Space on Linux (2026): APT, Snap, Flatpak
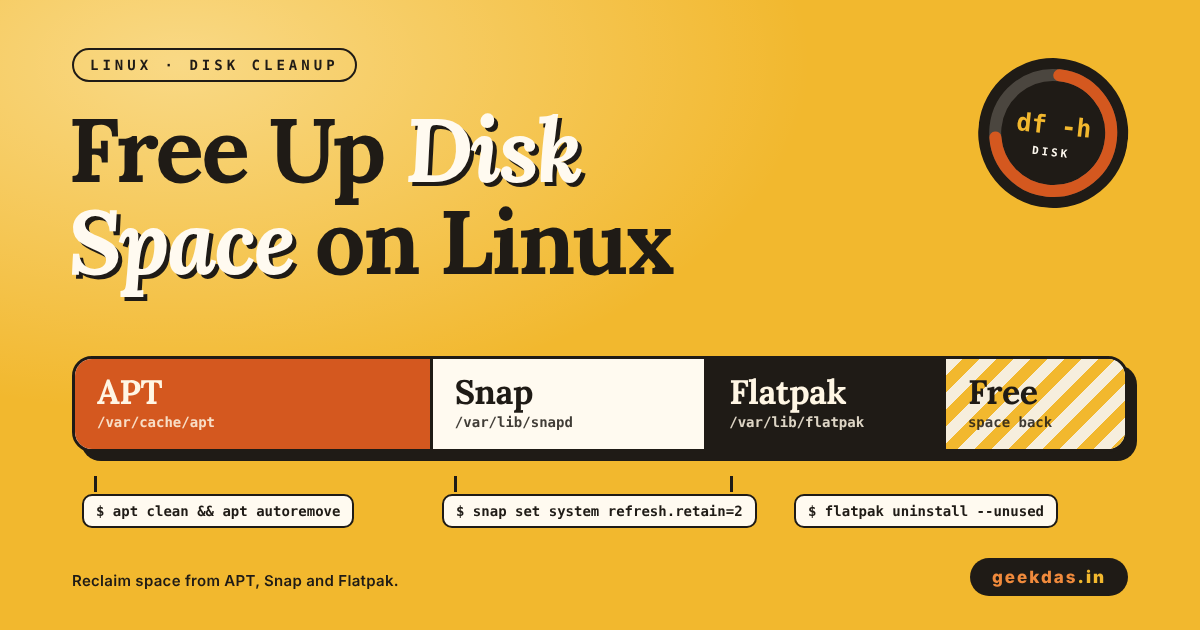
First find what is using the space with du or ncdu. Then clean in this order: APT cache and unused packages, old kernels, Snap's disabled revisions, Flatpak's unused runtimes, and finally logs. Each step below is safe when you read the confirmation before pressing Y.
A Linux system collects clutter slowly. Package downloads, old versions of apps, logs and unused libraries pile up until one day a disk reaches 100% and updates start to fail. The good news is that most of this clutter is safe to delete, and a few commands can often free several gigabytes.
This guide works on Ubuntu, Debian, Linux Mint and similar systems. Where a command is specific to one tool, we say so. Read each section before you run it, and note that commands starting with sudo run as the administrator and can remove things, so read their prompts.
Before you start: what is using your space?
Do not clean blindly. Spend two minutes finding the biggest items first. That way you spend your effort in the right place.
Check how full each disk is
df -hdf stands for "disk free". The -h flag means "human readable", so you see GB and MB instead of raw numbers. Look at the row for / (the main system) and /home (your files, if it is separate). The Use% column tells you how full it is.
Rows that start with /dev/loop are Snap packages. They always show 100% used. Ignore them.
Find the biggest folders
sudo du -xh / --max-depth=1 2>/dev/null | sort -h | tail -10Here is what each part does:
dureports disk usage of folders.-xstays on one disk and skips other mounts.--max-depth=1shows only the top-level folders.sort -h | tail -10shows the ten biggest.
Typical big folders are /var (logs, caches, packages), /usr (installed programs) and /home (your files).
Use a visual tool: ncdu
ncdu is a small terminal program that lets you move through folders with the arrow keys and see sizes.
sudo apt install ncdu
sudo ncdu -x /
Press d on an item to delete it, but only do that for things you are certain about.
How much space can you expect to free?
Results depend on how long the system has been running, but these are typical amounts on a desktop that has been in use for a year or more:
APT cache and unused packages: 200 MB to 2 GB.
Old kernels: 300 MB to 1.5 GB.
Snap disabled revisions: 500 MB to 3 GB if you use several snaps.
Flatpak unused runtimes: 500 MB to 4 GB.
System journal: 100 MB to 4 GB.
Add these together and it is common to recover five to ten gigabytes without deleting a single personal file.
Step 1: Clean the APT cache
When APT installs a package, it first downloads the .deb file and keeps a copy. Those copies are not needed after the install.
See how much space they use
du -sh /var/cache/aptRemove downloaded package files
sudo apt cleanapt clean deletes all stored .deb files. It is safe. The only cost is that reinstalling a package downloads it again.
If you prefer a gentler option, sudo apt autoclean removes only files that can no longer be downloaded because newer versions replaced them.
Remove packages nothing needs
sudo apt autoremove --purgeWhen you install a program, APT also installs its helpers. If you later remove the program, the helpers stay. Autoremove finds and removes them. The --purge flag also deletes their settings files.
APT shows the list of packages before it deletes anything. Read it. If you see something you still need, say no and mark it as manually installed with sudo apt-mark manual PACKAGE.
Step 2: Remove old Linux kernels
The kernel is the core of the operating system. Each update installs a new kernel and keeps the old one so you can boot it if the new one fails. Over months, several old kernels remain, and each takes around 300 to 500 MB including its modules.
See which kernel you are running
uname -rNever remove this one.
List installed kernels
dpkg --list | grep linux-image
Let autoremove do it
Usually, the same command as before handles old kernels safely:
sudo apt autoremove --purgeUbuntu keeps the current kernel and one previous one. This is the right amount. Do not remove all old kernels by hand, because a spare lets you recover if an update goes wrong.
Step 3: Clean up Snap
Snap keeps older versions of each app so you can go back. By default it keeps the current version and two older ones, but it also mounts each one. This is where many Ubuntu systems quietly lose several gigabytes.
See all revisions
snap list --allAny line that says disabled in the Notes column is an old revision that is not being used.
Remove all disabled revisions
snap list --all | awk '/disabled/{print $1, $3}' | while read snapname revision; do
    sudo snap remove "$snapname" --revision="$revision"
done
Here is how that works. The first part lists all snaps. awk picks the lines marked disabled and prints the name and the revision number. The loop then removes each one. The current version of every app stays, and so does your data.
Keep fewer revisions in future
sudo snap set system refresh.retain=2Two is the lowest value Snap accepts. It means one old revision is kept besides the current one.
Snap's cache
Snap also keeps downloaded files in /var/lib/snapd/cache. Clean it with:
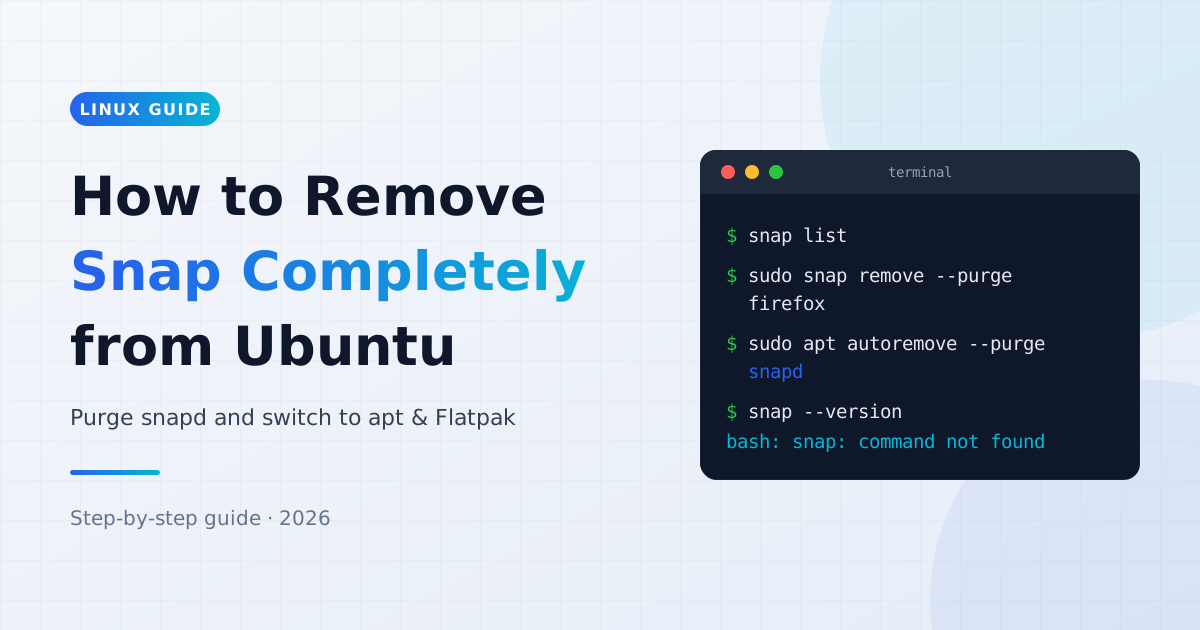
sudo rm -rf /var/lib/snapd/cache/*This only removes saved downloads. If you do not use Snap and want to get rid of it entirely, follow how to remove Snap completely from Ubuntu.
Step 4: Clean up Flatpak
Flatpak apps depend on shared runtimes, which are bundles of libraries. When you uninstall an app, its runtime can stay behind. After a major runtime upgrade, the old version stays too.
See what is installed and how big it is
flatpak list --columns=name,application,sizeRemove unused runtimes
flatpak uninstall --unusedFlatpak shows what it will remove and asks you to confirm. This often frees more than a gigabyte.
Remove leftover app data
Each Flatpak app keeps its settings in ~/.var/app. Check the sizes:
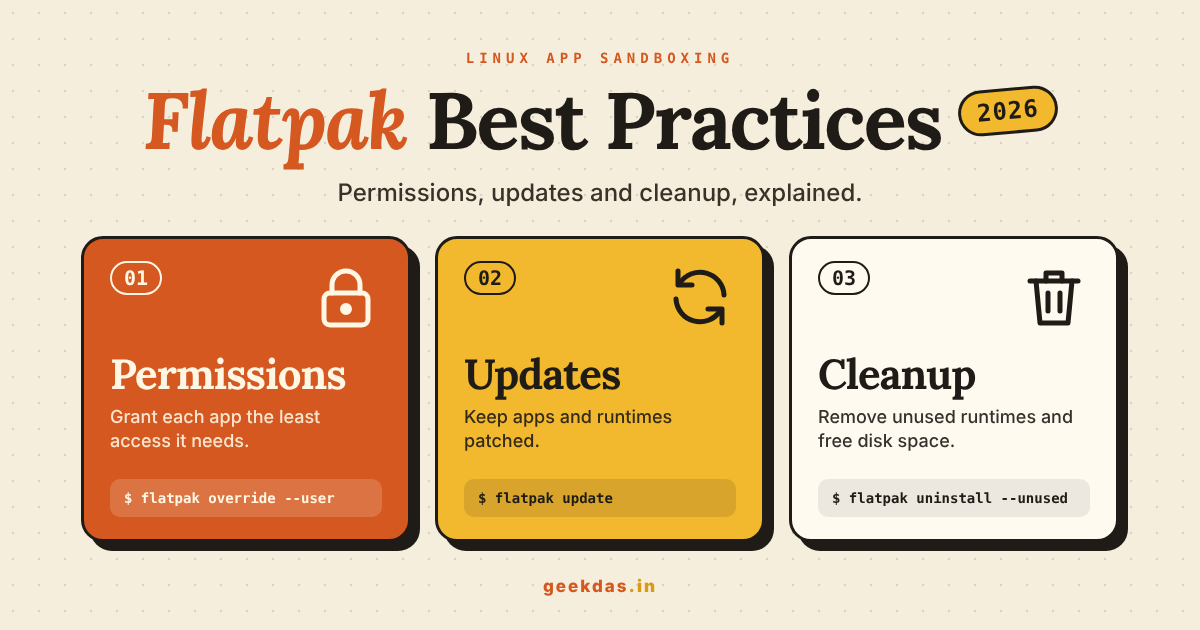
du -sh ~/.var/app/* | sort -hIf you see a large folder for an app you uninstalled, you can delete that folder. Browsers are often the largest, because they keep caches there. For more habits that keep Flatpak tidy, read Flatpak best practices.
Step 5: Shrink the system logs
Linux systems that use systemd store logs in a journal. On a busy system the journal can grow to several gigabytes.
Check its size
journalctl --disk-usageReduce it
Keep only the last 200 MB:
sudo journalctl --vacuum-size=200MOr keep only two weeks:
sudo journalctl --vacuum-time=2weeksBoth commands delete only the old log entries. To limit the journal in future, edit /etc/systemd/journald.conf and set SystemMaxUse=200M, then restart with sudo systemctl restart systemd-journald.
Old rotated logs
Files such as /var/log/syslog.1 and /var/log/*.gz are old log copies. They are normally removed by the system after a few weeks. You can delete the compressed ones safely:
sudo find /var/log -type f -name "*.gz" -deleteDo not delete the current log files, only these archives.
Step 6: Clean your home folder
Your own files are often the biggest part of the problem.
Empty the trash
rm -rf ~/.local/share/Trash/*Look at the cache folder
du -sh ~/.cache/* | sort -h | tail~/.cache holds temporary data from apps. It is safe to delete, and apps will rebuild what they need. Browsers, thumbnails and package tools can each hold hundreds of megabytes.
Find large files
find ~ -type f -size +500M -exec ls -lh {} \; 2>/dev/nullThis lists files larger than 500 MB in your home folder. Old ISO downloads, videos and virtual machine disks are common finds.
Step 7: Docker and developer leftovers
If you use Docker, images and stopped containers use a lot of space.
docker system df
docker system prune
The first command shows usage. The second removes stopped containers and unused networks, and asks for confirmation. Adding -a also removes unused images, which is more aggressive.
Developers also collect node_modules folders and language caches. Check them with:
du -sh ~/.npm ~/.cache/pip ~/.cargo 2>/dev/nullCleaning ~/.npm is safe with npm cache clean --force.
Special case: the /boot partition is full
Some systems keep /boot on a small separate partition, often 500 MB to 1 GB. Each kernel update adds files there, and when it fills up you see errors such as "No space left on device" during apt upgrade, even though the main disk has plenty of room.
Check it
df -h /bootIf Use% is close to 100%, old kernels are the cause.
Fix it
Check the running kernel with
uname -r.Remove old kernels with
sudo apt autoremove --purge.If APT is stuck in a half-finished state, run
sudo apt -f installfirst, then repeat step 2.
If autoremove does not free enough, list the kernels with dpkg --list | grep linux-image, and remove one older version by name, for example sudo apt remove --purge linux-image-6.8.0-31-generic. Use the exact name shown on your system, and never the running one.
Prevent it
Run sudo apt autoremove --purge after each large update. Some systems also run it automatically through unattended-upgrades when Remove-Unused-Kernel-Packages is set to "true" in /etc/apt/apt.conf.d/50unattended-upgrades. That setting is on by default in recent Ubuntu releases.
A monthly cleanup routine
Copy these commands into a note and run them once a month:
sudo apt clean
sudo apt autoremove --purge
flatpak uninstall --unused
sudo journalctl --vacuum-size=200M
Then check Snap with snap list --all | grep disabled. This takes about five minutes and keeps the system from filling up.
Things you should not do
Do not delete things you do not recognise in /var/lib
/var/lib holds the state of installed programs, such as package databases and Docker data. Removing files there by hand can break your system. Use the tools above.
Do not remove the current kernel
Check uname -r first. If you ever remove the running kernel by mistake, do not restart until you have reinstalled it.
Do not run rm -rf with a variable you have not checked
A mistake like rm -rf $FOLDER/ with an empty variable can delete much more than you wanted. Type paths in full when working as the administrator.
Do not treat 100% loop devices as a problem
Snap packages show as full loop devices. That is normal.
When the disk is completely full
If the disk reaches 100%, some commands fail because they cannot write temporary files. Free a little space first:
Run
sudo apt clean. It removes the cache, which is quick and does not need new space.Run
sudo journalctl --vacuum-size=100M.Delete the trash and large files you know are safe.
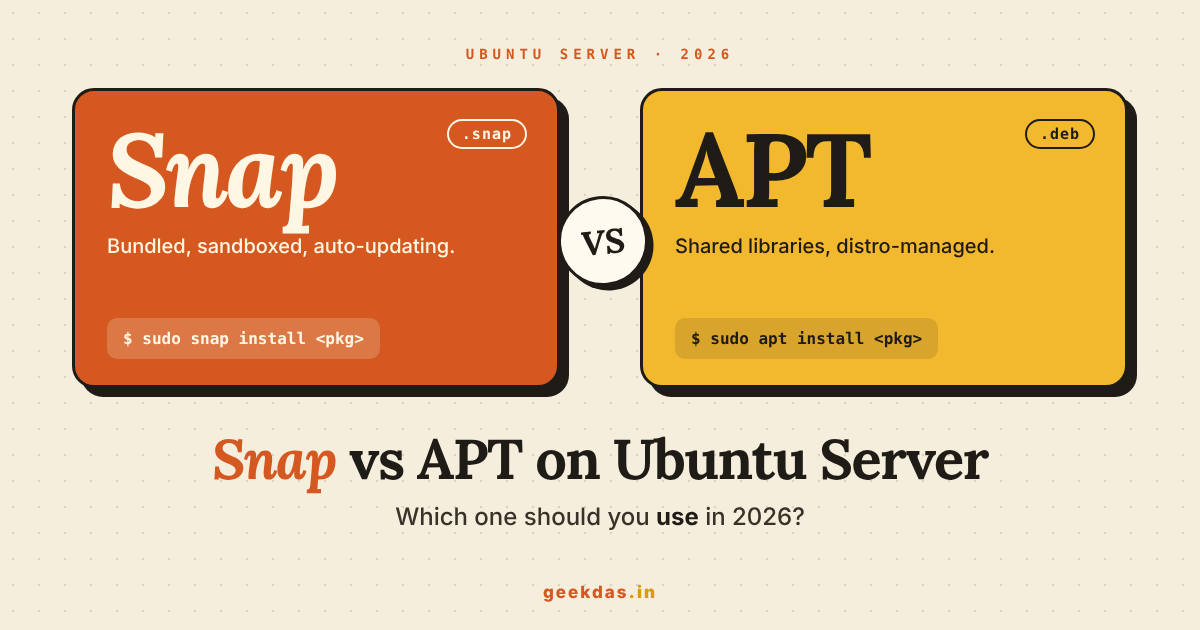
After that you have room to run the other steps. If the system is a server, see Snap vs APT on Ubuntu Server for how Snap revisions and refreshes affect disk use.
Conclusion
Freeing disk space is mostly about finding the big items and removing what the system keeps for convenience: cached downloads, old kernels, old Snap revisions, unused Flatpak runtimes and old logs. Do the steps in order, read each prompt and set up the monthly routine so it never reaches 100% again.
If you are deciding which package format to use going forward, see the full comparison of Linux package formats and Flatpak vs APT. For more command details, see the official Ubuntu documentation and the Flatpak docs.
Was this article helpful?